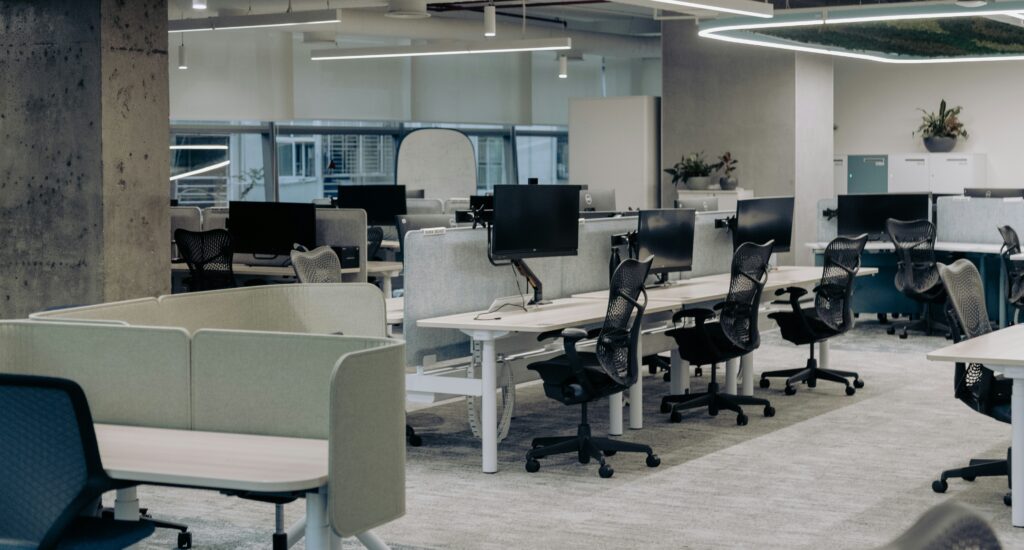
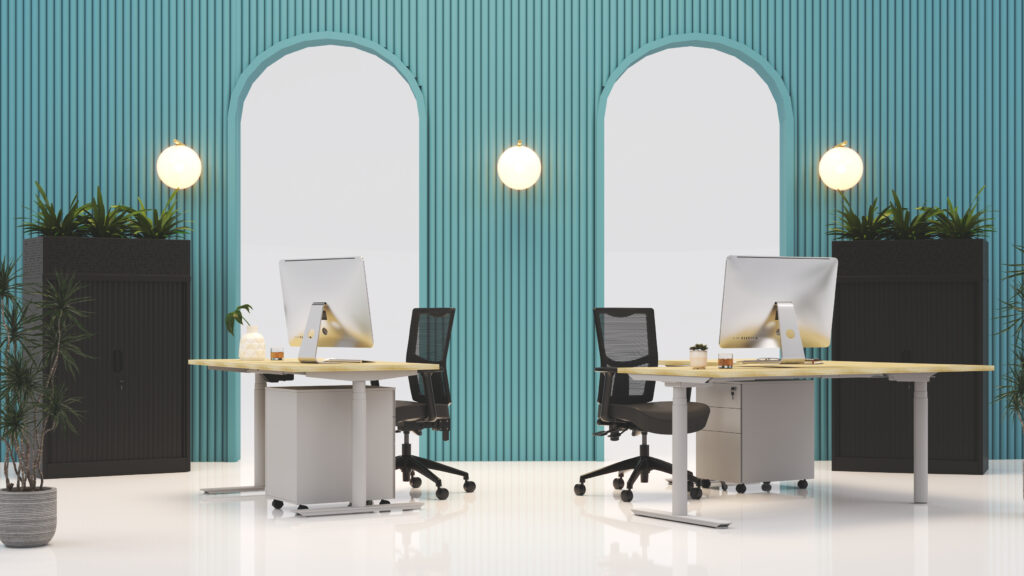
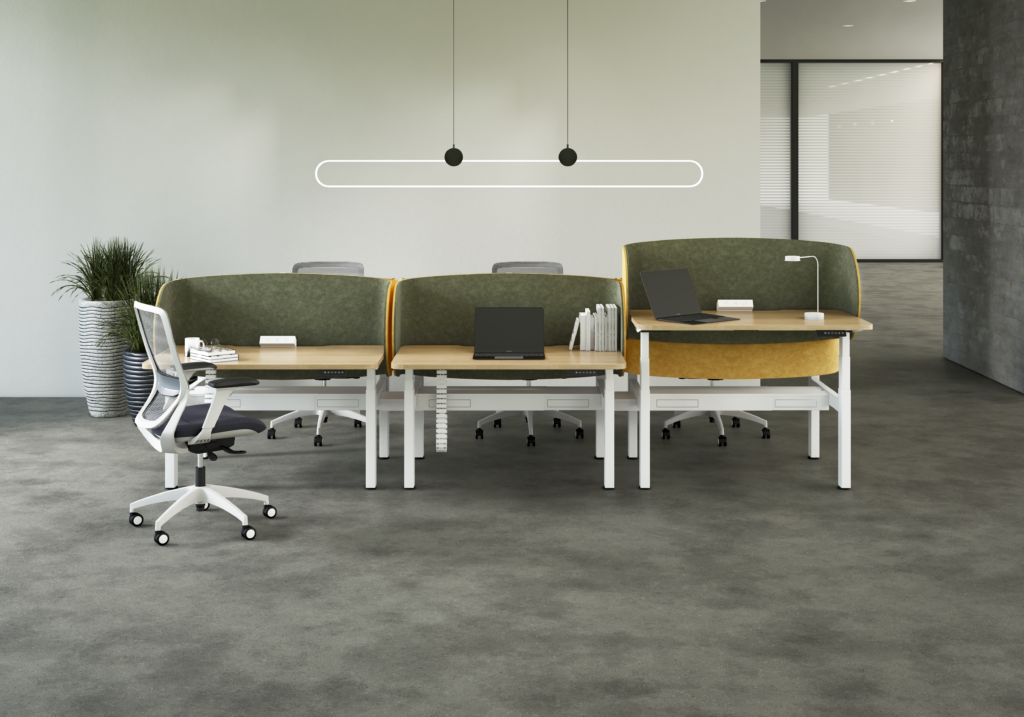
Twenty workstations is the size where a commercial fitout stops being simple. Below that, it’s mostly a product order. Above it, most businesses know they need help. But at around 20 people, there’s a middle ground where a fitout has enough moving parts to go wrong — enough spec decisions, enough delivery coordination, enough dependencies on other trades — but not obviously enough scale to warrant bringing in a project manager.
That gap is where a lot of small-to-medium businesses lose money. Not on the furniture itself, but on the six or seven things a fitout depends on that no one thought to plan for.
This is a step-by-step guide to how a 20-person office fitout should be planned — from the initial brief through to handover. It’s written in the order the decisions actually get made, with the specific traps to avoid at each stage. If you’re planning to project-manage this yourself, this is the checklist. If you’re planning to bring in help, this is what “good” looks like.
Before You Start: Three Questions to Answer First
Before any product is looked at, three inputs need to be locked in:
1. What’s the target occupancy date?
Everything else works backwards from this. A hard occupancy date (the day staff need to be sitting at desks) drives freight timing, installation schedule, and product lead-time decisions.
2. What’s the total budget — furniture and install?
Not a per-desk number in isolation, but the whole envelope. Furniture, delivery, installation, project management, waste removal, and a 10% contingency.
3. Who owns the project internally?
One person on your side needs to own decisions. In a 20-person fitout, indecision costs more than any single spec choice.
If any of those three isn’t clear, don’t start ordering. Sort them first.

Step 1: Establish the Brief
The brief is the reference document the whole project runs against. On a 20-person fitout, it should be one page and cover:
- Occupancy date — when the space needs to be ready to use
- Headcount — current and 12-month projection
- Space — floor area, floor plan (CAD if available, PDF acceptable), lift access, dock access, hours available for install
- Work style — dedicated desks, hot desks, hybrid mix, expected daily attendance
- Non-desk requirements — meeting rooms, breakout, reception, kitchen, printer bays, storage, quiet booths
- Product preferences — sit-to-stand vs fixed, chair grade, storage type, screening, aesthetic direction
- Budget envelope — total, with any known category priorities
- Non-negotiables — deadline, brand standards, accessibility requirements, sustainability commitments
Most businesses skip the written brief and try to hold it in their head. On a project this size, that’s the fastest way to end up making inconsistent decisions across different suppliers.
Step 2: Space Plan the Layout
Space planning is where the biggest early cost decisions get made — and where the biggest mistakes get baked in.
For 20 people, the space plan needs to answer:
- Workstation density — how many desks fit comfortably in the available floor area, allowing for compliant egress paths and walkway widths
- Configuration — single-sided, back-to-back, bench, or cluster layouts
- Zoning — where the concentration work, collaboration, and quiet zones sit
- Support spaces — meeting rooms, breakout, printer/utility, storage
- Circulation — the paths people actually walk between kitchen, meeting rooms, entry, and desks
- Services alignment — where power, data, and lighting sit versus where the desks want to sit
The most common mistake in DIY space planning is fitting the maximum number of desks into the space without leaving proper circulation. Cheap on paper, terrible in practice — an office with 20 desks and no space to move between them feels crammed within a week.
Australian WHS guidelines and building codes set minimum egress widths (typically 1000mm for primary paths, 750mm for secondary). Space planning has to respect those. Getting the plan reviewed by someone who does this professionally — before the product is specified — is one of the highest-leverage decisions you’ll make.
Step 3: Specify the Product
Product specification is the stage most businesses jump to first, and it’s actually one of the later steps. Once the space plan is locked, the product decisions become much simpler because they’re constrained by real dimensions.
Key decisions at this stage:
- Workstation spec — sit-to-stand vs fixed, size (1500mm, 1600mm, 1800mm), depth, screen height
- Task seating — commercial-grade ergonomic chairs matched to intensity of use
- Storage — pedestals, tambour units, lockers, planter dividers
- Meeting furniture — boardroom table, breakout seating, huddle rooms
- Reception and breakout — first impression pieces
- Acoustic solutions — screens, booths, panels for open-plan noise management
For guidance on which sit-to-stand desks to specify at scale, see our Buyer’s Guide for 2026.
For a full breakdown of what a 20-person fitout typically costs across those categories, see our Australian Office Fitout Cost Guide.
Two rules that apply across every category:
Commercial-grade only. Domestic-grade furniture in a commercial environment fails on a 2–3 year timeline. Look for AFRDI certification (or BIFMA equivalent). The Australasian Furnishing Research and Development Institute maintains the standard.
Match the warranty to the use case. A five-year warranty on a chair used four hours a day is different from the same warranty on a chair used ten hours a day in a contact centre.
Step 4: Build the Programme
Programme is the schedule. It runs from order placement to occupancy date, and every dependency needs to be visible on it.
A typical 20-person fitout programme looks like this:
| Week | Activity |
|---|---|
| Week 0 | Order placed, deposit paid |
| Weeks 1–4 | Product manufactured (or assembled from stock) |
| Weeks 3–4 | Delivery slot booked, dock access confirmed, install crew booked |
| Week 5 | Delivery to site |
| Week 5 | Installation |
| Week 5 | Defect inspection and snag list |
| Weeks 5–6 | Snag items resolved |
| Week 6 | Handover, staff move in |
Lead times vary wildly. In-stock product ships in 5–10 business days. Custom or made-to-order items can be 4–8 weeks. Import-dependent items can blow out further. Get lead times confirmed in writing before locking your occupancy date.
The single biggest programme mistake on 20-person fitouts: assuming everything will arrive together. It never does. Multiple suppliers means multiple delivery windows. Consolidating those into a single install day requires deliberate coordination.
Step 5: Manage the Installation
Install day is where the plan meets reality. Things that matter:
Dock and lift access booked. Building managers require prior notice for goods lift use, and after-hours access usually has fees attached. Sort this two weeks out, not the day before.
Site clear and ready. Cables run, IT setup complete, cleaning done. Furniture installers cannot work around active construction.
Two-person install crew for sit-to-stand. Height-adjustable desks are heavier and more complex than fixed desks. Solo installs on this product are slower and higher-error.
On-site supervision. Someone with authority to make decisions needs to be on site during install to resolve issues in real time — moved fittings, missing items, spec queries.
Waste removal. Twenty desks generates a lot of packaging. A truck to remove it at end of install is worth its cost.
Step 6: Snag, Sign Off, and Hand Over
Installation completion is not project completion. Between install and true handover, there should be:
A defect walkthrough — going through every workstation, every chair, every storage unit, and documenting anything that isn’t right. Loose components, scratched surfaces, missing parts, misaligned drawers.
A snag list — the documented list of items to resolve, with responsibility and expected resolution date against each.
Resolution — the supplier or installer works through the snag list. On a 20-person fitout, expect 5–15 snag items. Zero is rare and usually means someone hasn’t looked hard enough.
Formal handover — a documented sign-off confirming everything is complete, warranty registration is filed, and any post-install support contact is established.
Handover is the point at which the project is genuinely done. If your online furniture supplier doesn’t do this stage, that’s not a small omission — it’s the difference between a project that’s delivered and a project that’s abandoned.
Common Mistakes on 20-Person Fitouts
These are the ones that repeat most often at this project size:
Underestimating the internal labour cost. A 20-person fitout, DIY-managed, typically consumes 40–80 hours of internal management time. That’s an ops manager or office manager not doing their actual job for a fortnight. For more on this trade-off, see our comparison of buying online versus using a Project Manager.
Not budgeting for contingency. Ten percent contingency is the minimum. Snag items, freight variations, and scope adjustments will consume it, and you’d rather have it than not.
Ordering before space planning. Fits the wrong desks into the wrong space, then discovers the mistake at install.
Multiple uncoordinated suppliers. Chairs from one place, desks from another, screens from a third. Each supplier’s lead time is different, deliveries land in a random order, and someone in your business becomes the accidental project manager.
Skipping the defect walkthrough. Small issues that aren’t documented at handover become the buyer’s problem to chase months later.
Underestimating lift and dock access. Central Sydney and Melbourne CBD buildings have surprisingly restrictive access rules. Confirm the delivery vehicle can actually reach your loading dock at the time you’ve booked.
When to Bring in a Project Manager
A 20-person fitout sits right on the edge where project management starts to genuinely pay for itself. It’s not automatic. Consider the tradeoff honestly:
Do it yourself if:
- You (or someone on staff) have run a fitout before
- Timelines are relaxed, budget has real slack
- The scope is standard — no complex site access, no live operations to work around, no other trades to coordinate
Bring in a PM if:
- The occupancy date is fixed and consequential
- Your team doesn’t have 40–80 hours of internal capacity to spare
- Site is complex — CBD building, restricted access, tight lift windows
- Multiple suppliers or contractors need coordination
- You want a single point of accountability if something goes wrong
The honest question isn’t “can we do this ourselves?” — most businesses could. The question is whether the internal cost of doing so is lower than the cost of engaging a PM. On projects this size, the answer more often than not is that PM engagement is the cheaper option overall.
In Summary
A 20-person office fitout has enough complexity that planning genuinely matters — and enough scale that mistakes have real financial consequences. The steps are always the same: brief, space plan, product spec, programme, install, handover. What separates a well-run project from a badly-run one isn’t the steps themselves, but the discipline of moving through them in the right order, with the right level of documentation and coordination at each stage.
The businesses that get this right treat the fitout as a project. The ones that struggle treat it as a shopping list.